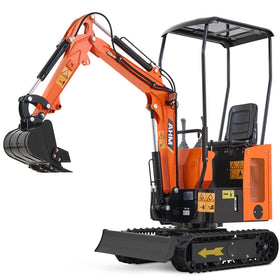
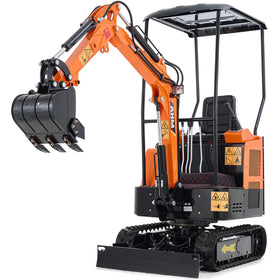
Over time, hydraulic oil can become contaminated with dirt, debris, and metal particles, which can lead to damage and reduce the performance of the mini excavators. Therefore, it's essential to change the hydraulic oil and filters regularly to keep the hydraulic system clean and ensure smooth operation. This guide will walk you through the process of changing both the hydraulic oil and the filter in a mini excavator, providing helpful tips and best practices along the way.
(Reading Time: 5-8 Minutes)
Why Change Hydraulic Oil and Filters?
Keeping your mini excavator's hydraulic system in top shape is important for several reasons:
- Prevents Contamination: Dirty hydraulic oil can lead to contamination of the hydraulic system, causing damage to components and reducing efficiency.
- Ensures Smooth Operation: Clean hydraulic oil and a new filter ensure the smooth operation of all hydraulic components, like the boom, arm, and bucket.
- Extends Equipment Life: Regular maintenance, including changing the hydraulic oil and filters, extends the life of your mini excavator and helps avoid expensive repairs.

When to Change Hydraulic Oil and Filters?
For optimal performance, follow this maintenance schedule:
- Hydraulic Oil: Change every 2,000 hours of operation.
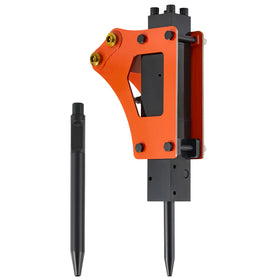
- Hydraulic Oil Filter: Replace every 1,000 hours of operation. If you're frequently using attachments like hydraulic breakers, halve these intervals to keep the system clean and functioning well.
Tools and Materials Needed
Before you begin, gather the following tools and materials:
- 46# anti-wear hydraulic oil (12L)
- Hydraulic oil filter (1 unit)
- 14mm wrench
- 12mm wrench
- 10mm wrench
- Oil suction pump
Step-by-Step Guide to Changing Hydraulic Oil and Filter
Step 1: Park and Prepare
- Park Safely: Make sure the machine is on level ground. Fully retract the arm cylinder, extend the bucket cylinder, and lower the bucket to the ground. Let the engine idle for about 5 minutes.

- Turn Off the Engine: Flip the hydraulic pilot lock switch, turn off the engine, ensure all joysticks are in neutral, and remove the key. Wait until the hydraulic oil cools down, as it may be very hot.
Step 2: Access the Hydraulic Tank
- Remove Covers: Use a wrench to take off the roof panel bolts and the cover over the hydraulic oil tank. This will give you access to the hydraulic oil reservoir and filter.

- Clean the Area: Clean the top of the hydraulic oil reservoir to prevent dirt from entering the system when you open it.
Step 3: Drain the Old Hydraulic Oil
- Release Pressure Carefully: Gradually open the hydraulic oil cap to release any built-up pressure. Be careful to avoid oil spraying out, which can be hazardous.
- Drain the Oil: Remove the drain plug at the bottom of the hydraulic oil tank to drain the oil completely.

Step 4: Replace the Hydraulic Oil Filter
- Remove the Old Filter: Unscrew the oil-pickup filter element cap and take out the old hydraulic oil filter by turning it counterclockwise.
- Clean the Filter and Tank: Thoroughly clean the filter and the inside of the hydraulic tank to remove any residue or contaminants.
- Install the New Filter: Position the new filter securely onto the outlet. Ensure the levers are properly placed and that the filter is securely attached.
Step 5: Refill the Hydraulic Oil
- Add New or Reused Oil: If you are not yet at the oil change interval, you can reuse the old oil extracted earlier by adding it back into the tank. If it is time for a full replacement, add new hydraulic oil.
- Fill to the Correct Level: Pour slowly and steadily until the oil level reaches the 2/3 mark on the oil dipstick. This is the standard fill level to ensure proper operation.
- Reinstall the Drain Plug: Clean and reinstall the drain plug at the tank's bottom to avoid any leaks.

Step 6: Reassemble and Test
- Reassemble All Parts: Replace all covers and panels that were removed during the process.
- Start the Engine: Start the engine and let it idle for about 2 minutes. Check all the controls and ensure there are no leaks or issues with the hydraulic system.
Conclusion
Changing hydraulic oil and filters is a straightforward task that you can easily handle with the right tools and steps. Doing it regularly as part of your maintenance routine will keep your mini excavator performing at its best and save you from bigger, costlier repairs down the line. Keep it simple, keep it safe, and keep your machine in great shape.
Remember, at AHM, we offer high-quality mini excavators and top-notch support for all your equipment needs.


