
A rake attachment is one of the most versatile tools you can add to your mini excavator. It can help your machine become a powerful land-clearing and grading tool for removing roots, rocks, branches, and other debris. You can use it for a variety of scenarios like preparing a new garden bed, cleaning up a construction site, and leveling soil. Properly installing a mini excavator rake will help your machine function well. Therefore, in this guide, we’ll walk you through how to install a rake on your mini excavator step by step.

How to Install a Rake on a Mini Excavator: A Step-by-Step Guide
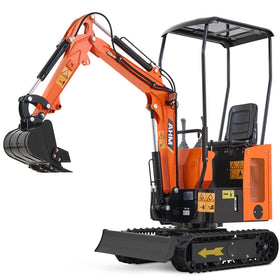
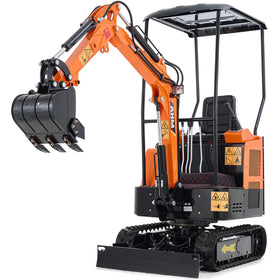
This guide uses the AHM 19.3" Mini Excavator Rake Attachment as an example to show the installation process. If you are working with a different rake attachment or excavator, please refer to its specific user manual for any differences in steps or safety instructions. The installation process can be generally devided into two parts: removing the current attachment and attaching the rake.
Part 1 Removing the Current Attachment
Note: This only provides general guidance on the excavator's current attachment removal. For more specific information, please refer to your excavator's manual or your attachment's manual.
Step 1: Start the engine of the mini excavator following the normal protocols.
Step 2: Park the excavator on level ground as shown, with the boom horizontal, the arm vertical, and lowering the attachment to the ground.

Step 3: Shut off the mini excavator engine.
Step 4: Wait until the engine and hydraulic oil have cooled to ambient temperature.
Step 5: Remove the nuts from the two pins connecting the attachment.

Step 6: Tap out the pins with a hammer, keeping them clean.
Step 7: Start the engine, raise the boom, and remove the current attachment.
Part 2 Attaching the Rake
Step 1: Remove the preinstalled hinge pins and their nuts on the rake.
Step 2: Use 2 or more people or a hoist to stand the rake up on a level surface.
Step 3: Start the engine of the excavator following the normal protocols.
Step 4: Drive the excavator to the rear of the rake.
Step 5: Align the hinge pin holes on the rake with the ones on the bottom of the excavator arm by moving the boom and arm.
Step 6: Shut off the engine.
Step 7: Insert the removed hinge pins through the holes and secure the pins with their removed nuts.

Step 8: Restart the engine and test the rake by performing light operations to confirm its stability.
Maintenance Tips for Long-Term Use
For your rake attachment to be used as long as possible, some regular maintenance is suggested. After using the rake attachment, always remove dirt, rocks, and plant debris from the rake tines and coupler area. Carefully evaluate the pins and bushings for signs of wear, replace any parts showing noted wear or corrosion. Besides, moveable joints should be greased regularly to prevent friction and provide smooth operation. When stored, keep the mini excavator rake attachment on a solid surface in a dry, covered area to avoid rust and weather exposure.
Conclusion: Maximize Your Mini Excavator’s Potential
Installing a rake attachment on your mini excavator can open up a new level of efficiency and versatility. From land clearing to grading and debris management, this simple upgrade can turn your compact machine into a multi-purpose workhorse. Follow the proper steps to install the rake attachment, keep it maintained, and you machine will be able to deliver reliable performance for years to come.


