
For mini excavators, skeleton buckets are a versatile attacment. They can be used to separate rocks from soil, improve excavating time, and save time sorting debris. No matter if you are on a construction site, landscaping, or renovating a garden, it is vital to know how to install and use the excavator skeleton bucket so that the process can be done safely and efficiently. In this guide, we will walk you through the step-by-step process from installation to operation.
How to Install a Skeleton Bucket on Your
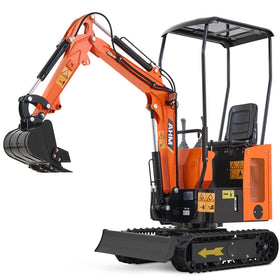
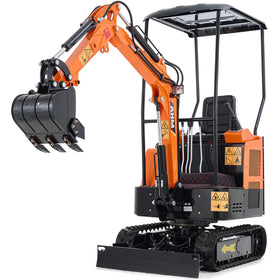
In this guide, we’ll use the AHM 24" Screening Skeleton Bucket Attachment as an example to illustrate installation and operation. If you are working with a different model, please refer to the corresponding manuals for your specific machines. Before you begin, double-check that your work area is clear, your excavator is stable, and you are wearing the appropriate personal protective equipment. These simple preparations will help ensure a safe and smooth installation process.

Step 1: Remove the preinstalled hinge pins and their nuts on the bucket.
Step 2: Use 2 or more people or a hoist to stand the bucket up on a level surface.
Step 3: Start the engine of the excavator following the normal protocols.
Step 4: Drive the excavator to the rear of the bucket.
Step 5: Align the hinge pin holes on the bucket with the ones on the bottom of the excavator arm by moving the boom and arm.
Step 6: Shut off the engine.
Step 7: Insert the removed hinge pins through the holes and secure the pins with their removed nuts.
Step 8: Restart the engine and test the bucket by performing light loading operations to confirm its stability.
How to Operate a Excavator Skeleton Bucket

Once your skeleton bucket is properly installed, you’re ready to start using it. Operating a mini excavator skeleton bucket can generally be divided into two main parts: Picking up a Load and Moving and Dumping the Load.
Part 1 Picking up a Load
Step 1: Center the skeleton bucket on the material to be picked up.
Step 2: Make a complete stop in front of the material and position the bucket at the proper height to enter the pile.
Step 3: Slowly drive into the pile. Do not ram the bucket into the pile.
Step 4: Lift the load a few inches and tilt the bucket back slightly.
Step 5: Make sure the bucket has control of the load. If the load is not secure in the bucket, release and recapture the load in the bucket.
Step 6: Back the load out of the pile slowly while making sure it clears all other obstacles.
Step 7: Position the load at a safe, low traveling height before transferring to the unloading site.
Part 2 Dumping a Load
Step 1: Stop in front of the unloading site.
Step 2: Slowly raise the load to a height just above the pile.
Step 3: Move forward slowly while checking to make sure the bucket and load are clear of all obstacles until the load is positioned over its dump location.
Step 4: Tilt the front of the bucket down to release the load and if necessary, raise the bucket up to allow the load to fully discharge from the bucket.
Step 5: Once the load has settled onto the pile, rotate the front of the bucket level.
Step 6: Begin backing up slowly while watching for clearances, pedestrians, and other traffic.
Step 7: Lower the bucket to transporting height (low to the ground) and continue moving.
Recommended Bucket: AHM 24" Screening Skeleton Bucket Attachment

For those looking for a high-quality, reliable option, the AHM 24" Screening Skeleton Bucket Attachment is an excellent choice.
Key Features:
-
Size & Compatibility: With a 24-inch width, this bucket is designed to fit AHM mini excavators and a variety of other mini excavators up to 2 tons.
-
Durability & Tough Construction: Made from high-hardness manganese steel, the bucket is built to handle heavy-duty tasks while resisting wear and tear.
-
Effective Filtering: This skeleton bucket expertly filters out rocks, brushes, and large debris while leaving soil and backfill materials in place. Its design allows for screening various material sizes.
Conclusion
Properly installing and using a skeleton bucket attachment is essential for the safety, efficiency, and lifespan of your mini excavator. The AHM 24” Screening Skeleton Bucket is a great attachment and by following the step-by-step instructions, you can make your excavation projects quicke, and easier. Remember to always check your equipment, follow safety guidelines, and enjoy the improved performance that comes with using the right tools for the job.


